

If you are new to FlutterFlow, your first win should feel like a complete product loop rather than a collection of disconnected screens, which means you need authentication, at least one data list, at least one create or edit flow, and a simple “detail” experience that proves your navigation and parameters work. You do not need complex animations, multiple integrations, or a perfect design system, because those choices usually expand scope and increase debugging time without improving your learning curve.
A good weekend app is small, focused, and shippable, and it teaches you the fundamentals that transfer to every future project, including layout discipline, data modeling, and action sequencing. This approach is the fastest way to move from “watching content” to building real output, which is why people who want to learn flutterflow for beginners tend to make the most progress when they commit to a simple app with a clear finish line.

Choose your weekend project: 3 options that ship fast
Pick one of these, because each option naturally fits a weekend timeline while still teaching real app structure.
Option A: Task Tracker (best for first-time builders)
- Sign up / sign in
- Create tasks with a title, priority, and due date
- List tasks with filters, then open a detail page
- Mark complete, edit, and delete
Option B: Habit Tracker (best for learning repeated states)
- Create habits
- Check in daily
- Show a weekly progress view
- Keep the logic simple, because the UI can carry the experience
Option C: Simple Inventory (best for CRUD confidence)
- Add items, update quantity, and track category
- Search and filter
- Show low-stock highlights with conditional UI
If you are unsure, choose the Task Tracker, because it is the best way to learn flutterflow from scratch while still finishing on time
The weekend roadmap at a glance
You will build faster when you follow an order that reduces rework, because the biggest beginner time sink is redesigning screens after you realize the data does not match your UI.
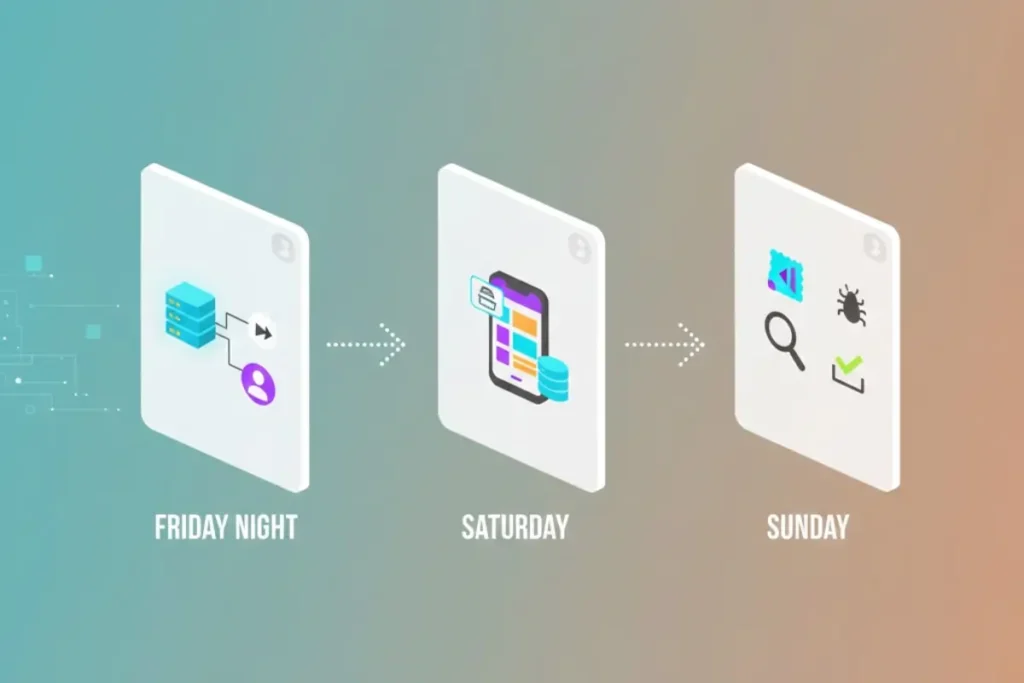
- Friday night: setup, data model, auth, navigation skeleton
- Saturday: UI screens, reusable components, CRUD actions
- Sunday: state correctness, empty/loading/error states, polishing, testing, and a shareable build
This structure works whether you are following a flutterflow tutorial or learning independently, because it forces you to practice the same workflow professionals use when they ship production features.
Friday night: Setup, data model, and navigation skeleton
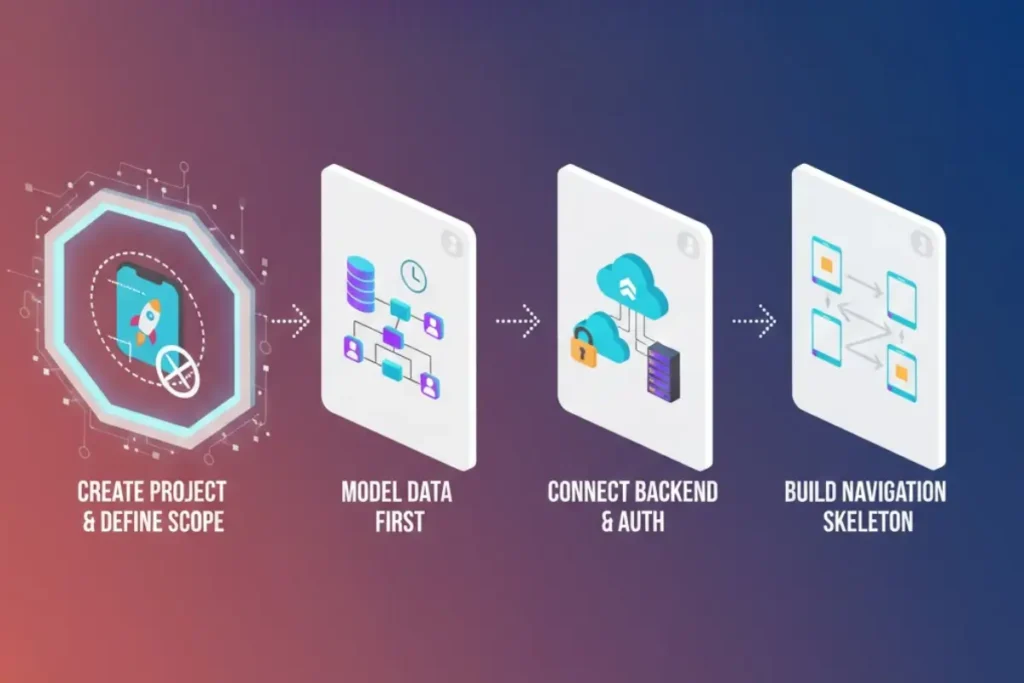
1) Create the project and define the scope you will not exceed
Before touching UI, write your scope as four bullets, because those bullets will protect you from “just one more feature” syndrome.
Example scope for a Task Tracker:
- Auth: email/password
- Tasks: create, list, update, complete
- One detail screen
- Basic filters: active vs completed
When the scope is written, you can build with confidence, because every decision becomes a yes or no against the list rather than an emotional guess.
2) Model your data first, even if it feels boring
Your first app becomes dramatically easier when your data is simple, consistent, and designed around queries you will actually run.
For a Task Tracker, a beginner-friendly model looks like this:
- Tasks: id, userId, title, notes, priority, dueDate, isDone, createdAt, updatedAt
If you want categories, add it as a string field rather than building a separate categories table on your first weekend, because normalization is helpful but can slow you down when you are still learning core mechanics.
3) Connect your backend and authentication early
Choose one backend path and commit to it for the weekend, because switching mid-project is a common beginner mistake that burns hours.
- If you use Firebase, set up Auth and a database collection for Tasks
- If you use Supabase, set up Auth and a table for Tasks, then confirm row-level security rules
Keep a single “smoke test” goal for Friday: you should be able to create a user and see that your app knows who is signed in.
For reliable setup guidance, use the official FlutterFlow documentation for authentication and backend connections, and keep the Firebase or Supabase docs open for any provider-specific settings, because those references are more accurate than random screenshots from older videos.
4) Build the navigation skeleton with placeholders
Create the screens even before the final UI is ready, because wiring navigation early prevents later confusion.
Your minimum screen set:
- Sign In / Sign Up
- Task List
- Task Create/Edit
- Task Detail
When you connect routes now, you are building the mental model you will reuse for every future app, which is the foundation of how to learn flutterflow efficiently.
Saturday: UI, reusable components, and core CRUD flows
1) Build one clean list screen that handles real-world states
Your Task List should handle four conditions without feeling broken:
- Loading
- Empty
- Error
- Success with many items
This is where beginners often get stuck, because they build only the “happy path” and then wonder why the app feels unreliable, so you should treat these states as mandatory.
A practical layout that stays clean:
- Header with title and a small filter control
- List of tasks using a reusable row component
- Floating action button that opens Create Task
2) Create a reusable “TaskRow” component
Reusable components are your speed multiplier, because they reduce duplication and keep your UI consistent.
A TaskRow component can include:
- Title and due date
- Priority badge
- Done checkbox or toggle
- Tap target that opens detail
Once you have this component, your list becomes easy to iterate, and you can later reuse it in search results or filtered views without rebuilding UI.
3) Implement Create Task with simple validation
Your Create Task screen should be minimal and reliable, because fancy form UX is a common trap.
Use a form with:
- Title (required)
- Notes (optional)
- Priority (dropdown or segmented control)
- Due date (optional)
Validation rules that keep you safe:
- Title cannot be empty
- Title length cap, so you do not break layout
- Priority defaults to “Normal”
When you save, you should do a clear action sequence: create record → show confirmation → navigate back → refresh list, because this builds the habit of deterministic flows rather than “it worked once” behavior.
4) Implement Edit, Complete, and Delete with predictable actions
By Saturday evening, you want CRUD to work with consistency.
- Edit: open existing task data, update, then refresh
- Complete: toggle isDone, then reflect in UI instantly
- Delete: confirm dialog, then remove, then show feedback
If you find that your UI does not update, do not panic, because this is a normal beginner hurdle, and the solution is usually one of three things: the query is not refreshing, the widget is not rebuilding due to state placement, or the update action is not targeting the correct record.
Sunday: Make it reliable, then make it sharable
1) Fix state and data flow so nothing “random” happens
Sunday is where you go from “demo” to “app.”
You should confirm:
- Navigation parameters are always present, especially on Detail pages
- List filters behave correctly when there are zero results
- Forms do not break when optional fields are empty
- Auth routing is correct, so logged-out users do not see app screens
This is also the day you learn the skill that separates beginners from confident builders, because debugging data flow is where you truly learn flutterflow rather than only placing widgets.
2) Add empty, loading, and error UI everywhere it matters
Your app should never show a blank page without explanation, because blank pages kill trust and also hide problems during testing.
A simple pattern that looks professional:
- Loading: spinner or skeleton
- Empty: a friendly message with an action button
- Error: short explanation with “Try again”
3) Do a quick performance and UX sweep
You do not need perfection, but you do need basic polish:
- Ensure tap targets are not tiny
- Avoid overly heavy shadows and giant images
- Keep spacing consistent
- Use readable font sizes
- Confirm that lists scroll smoothly
4) Create a shareable build or preview
Your final goal is shareability, because shipping is the lesson.
Depending on your target:
- Web preview for fast sharing
- Android build for testing on a device
- iOS build if you already have the setup ready
Use the official FlutterFlow deploy guidance to avoid missing required steps, and keep your first build simple so you do not lose momentum in release settings.
Mini example workflow: Task Tracker MVP (conceptual, no heavy code)
This workflow is the “blueprint” you can reuse for almost any beginner app.
- Define the MVP outcomes
Users sign in, create tasks, see a list, open details, and mark complete, then the app always reflects changes correctly. - Create the data model
A single Tasks collection with userId ownership keeps your queries easy and your permissions clear. - Build screens in the right order
Auth → List → Create → Detail → Edit, because each screen depends on the one before it. - Connect actions as sequences
Create task → confirmation → refresh list, and update task → refresh detail, because refresh discipline removes most beginner confusion. - Test edge cases early
No tasks, many tasks, tasks without due dates, and toggling complete repeatedly, because these cases teach you how real apps behave.
When you follow this workflow, you are practicing the best way to learn flutterflow, because you are learning systems rather than memorizing steps.
Step-by-step learning roadmap after the weekend
Your weekend app is your foundation, and your next progress comes from expanding skills in a logical order rather than random feature chasing.
Week 1: Master UI + navigation fundamentals
- Reusable components
- Responsive layouts
- Parameters and route guards
Week 2: Get strong with data and CRUD patterns
- Filtering and sorting
- Pagination strategies
- Permissions and user-owned data
Week 3: Add one integration and learn real debugging
- One API integration
- Robust error handling
- Logging and sanity checks
Week 4: Ship a second app faster than the first
- Clone the workflow
- Improve architecture
- Build a portfolio-ready demo
This is how to learn flutterflow in a way that keeps compounding, because every project becomes easier and cleaner.
Beginner plan: 7 days (so the weekend turns into momentum)
Day 1: Rebuild the weekend app from memory, then improve one screen’s layout so you learn by rebuilding, not by copying.
Day 2: Add search and a filter, then test empty results and confirm state updates correctly.
Day 3: Add a simple profile screen with editable user fields, then practice form validation again.
Day 4: Add a basic analytics event or logging pattern, then learn how to observe real behavior.
Day 5: Improve error handling for at least two flows, so your app does not fail silently.
Day 6: Add a settings toggle using app state, then confirm it persists and affects UI.
Day 7: Share the app with a few testers, collect feedback, and ship one improvement, because shipping fixes is how you become confident.
If you want to learn flutterflow for beginners without stalling, this seven-day extension is the simplest way to convert your first build into real skill.
Focused plan: 30 days (from first app to portfolio-ready)
This plan is ideal if you are comparing self-learning to a structured path, because it gives you a calendar that mimics what a good program would do.
Days 1–7: Build fundamentals that reduce rework
- Component library
- Navigation patterns
- Clean layout habits
Days 8–14: Data mastery and correctness
- Advanced queries and filters
- Create/edit reliability
- Ownership and permissions patterns
Days 15–21: One serious integration
- API integration with auth headers
- Parsing edge cases
- Retry and fallback UI
Days 22–30: Release readiness and portfolio packaging
- Performance and UX polish
- Build and publish a demo
- Write a short case study explaining your decisions
At the end of 30 days, you will not just have screens, you will have proof that you can ship, which is what people actually look for when they evaluate skills.
Tutorials vs Course vs Bootcamp (pros/cons)
If you are deciding between learning styles, the right choice depends on whether you need structure, feedback, or speed.
flutterflow tutorial
Pros: fast answers for specific features, easy to sample many ideas, good for quick fixes.
Cons: can create “copy mode,” often skips fundamentals, and can leave gaps in data modeling and debugging habits.
flutterflow course
Pros: structured sequence, fewer missing steps, better pacing for beginners who want clear progression.
Cons: quality varies, and it can still become passive if you watch more than you build.
flutterflow bootcamp
Pros: accountability, deadlines, feedback, and faster skill growth when you need results quickly.
Cons: higher cost and higher intensity, which can be stressful if your schedule is unpredictable.
flutterflow training
Pros: practical learning with guided exercises, often better for teams or learners who want structured practice.
Cons: requires consistency, and the experience depends heavily on the trainer and curriculum.
When you want a single resource that covers the full journey, you can look for a flutterflow full course or a flutterflow complete course, and you can compare different flutterflow courses by checking whether they include projects, debugging practice, and release steps, because those elements matter more than how many hours of video you get.
Common mistakes beginners make during the weekend
Mistake 1: Starting with UI without a data model
You can avoid this by writing your fields first, because UI becomes easier when the data is clear and consistent.
Mistake 2: Adding too many features “because it’s easy in no-code”
You can avoid this by protecting scope, because complexity grows fast when you add roles, notifications, and multiple integrations too early.
Mistake 3: Ignoring empty and error states
You can avoid this by treating reliability UI as part of the feature, because a list that fails silently is not a finished list.
Mistake 4: Storing everything in global state
You can avoid this by keeping state local unless multiple screens truly need it, because smaller state is easier to debug and reason about.
Practical checklist for your weekend build
Friday checklist
- Project created and named clearly
- Backend chosen and connected
- Auth flow working
- Data model created
- Screens created and routes connected
Saturday checklist
- List screen shows data
- Reusable row component created
- Create flow works with validation
- Edit and complete actions update correctly
- Delete flow uses confirmation and feedback
Sunday checklist
- Loading, empty, and error states added
- Navigation parameters tested
- Logged-out routing verified
- Basic UX polish completed
- Shareable build created and tested
1) What is the easiest first app to build in FlutterFlow?
A task or habit tracker is usually easiest, because it teaches navigation, state, and CRUD without requiring complex integrations.
2) Do I need coding experience to start?
You can start without coding, then add small custom actions later, because FlutterFlow lets you learn the core app workflow first.
3) How do I stay out of tutorial limbo?
You rebuild features from memory and change requirements on purpose, because that forces learning instead of copying.
4) What backend should I choose as a beginner?
Choose the one you can set up fastest and keep for the weekend, because consistency matters more than “perfect” tools on your first project.
5) How long until I feel confident building real apps?
Most beginners feel meaningfully more confident after one weekend app and one month of focused practice, because repetition builds reliable intuition.
6) What is the fastest path if I want structure?
A structured program can help, because it reduces decision fatigue and teaches a clear progression, which is why some people choose a flutterflow course once they decide they want a guided roadmap.
If you want a structured path, here’s a full FlutterFlow course: https://webnum.com/flutterflow-course/
Building your first FlutterFlow app in a weekend is realistic when you choose a simple project, commit to a tight scope, and follow a build order that starts with data and navigation before it chases polish. The app you ship will not be perfect, but it will be real, and the confidence you gain from shipping will make every next project faster and cleaner.